NuGet Tutorial I - Web Document Viewer
21 Jun 2016Hi, Dmitry is here.
Today I want to start a series of simple but motivating posts about NuGet packages for DotImage product and how they can be useful to speed up development of imaging and capture-oriented applications.
We start with Web Document Viewer
- JavaScript component that allows you to work with images, thumbnails, PDF Forms and annotations. There are many features that the viewer provides, but we want to stick with ease of use here, right?
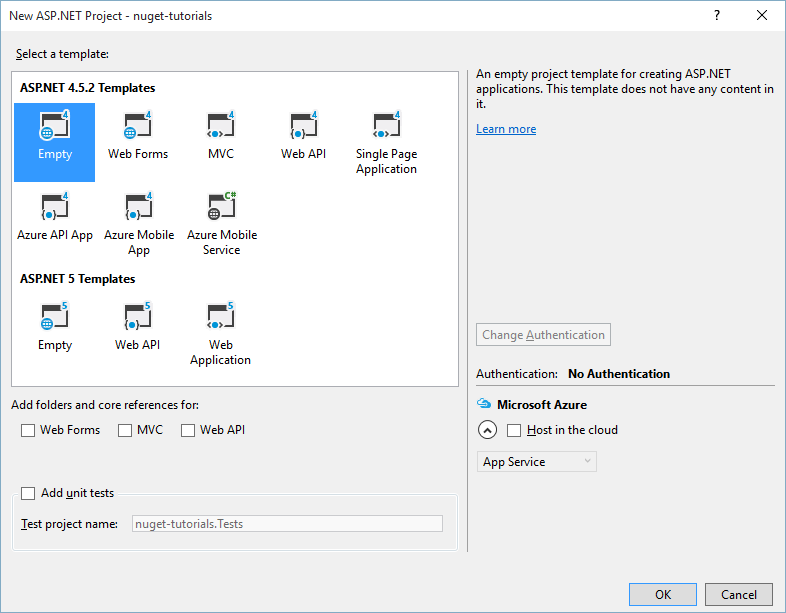
So, let’s start with empty ASP.NET project:
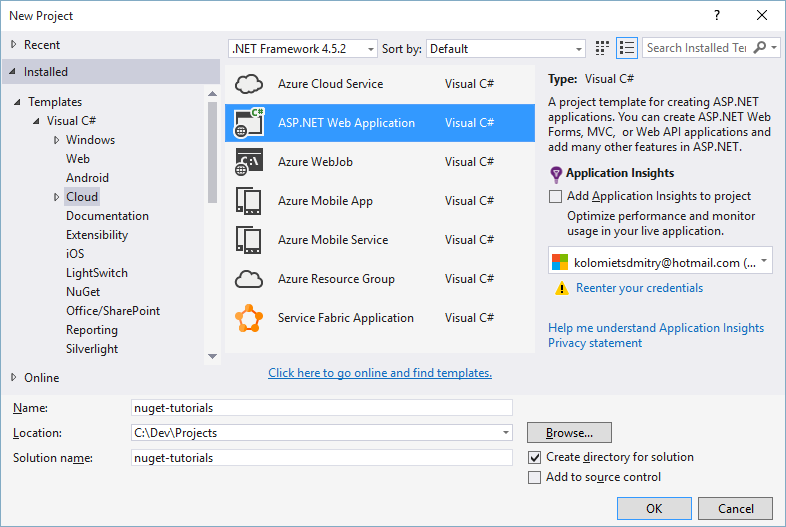
We are going to stick with Empty ASP.NET template - we want to write some code, didn’t we?
Next step is to add a number of DotImage packages to the project. To do that, right-click on the project and select Manage NuGet Packages:

For the purposes of this tutorial we need to install two packages:
- Atalasoft Web Document Viewer - JavaScript WDV/WDT components including all additional dependencies we have (jQuery, Raphael.js, jQuery.UI)
- Atalasoft DotImage WebContorls (32-bit) - server side code that supports Web Document Viewer. I’m using 32-bit package here, since IIS Express is 32-bit process. In real life you may want to choose 64-package.
During installation of these two packages a lot of stuff happens behind the scenes:
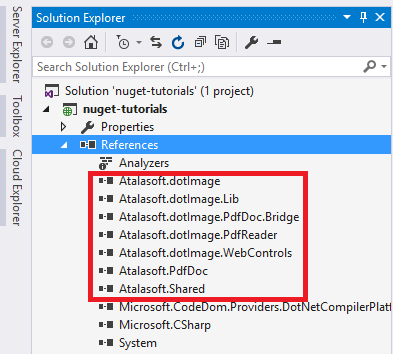
- NuGet infrastructure downloads .NET assemblies along with all dependencies, specified in
package definition. All the assemblies are referenced automatically, so you don’t need
to do it explicitly:
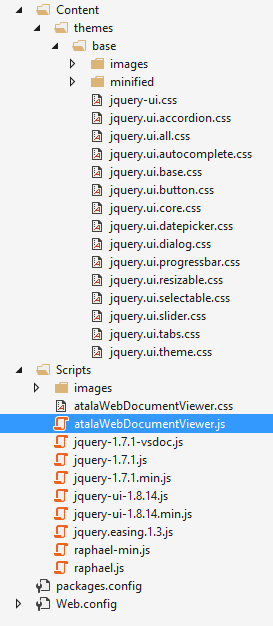
- Web Document Viewer is a JavaScript component that also has some dependencies on
other 3rd party libraries. NuGet downloads them as well and adds to the project:
Once you have both packages installed, you are ready to add some code. The process is very similar to what is described in our Dev guide
- I will briefly cover it below.
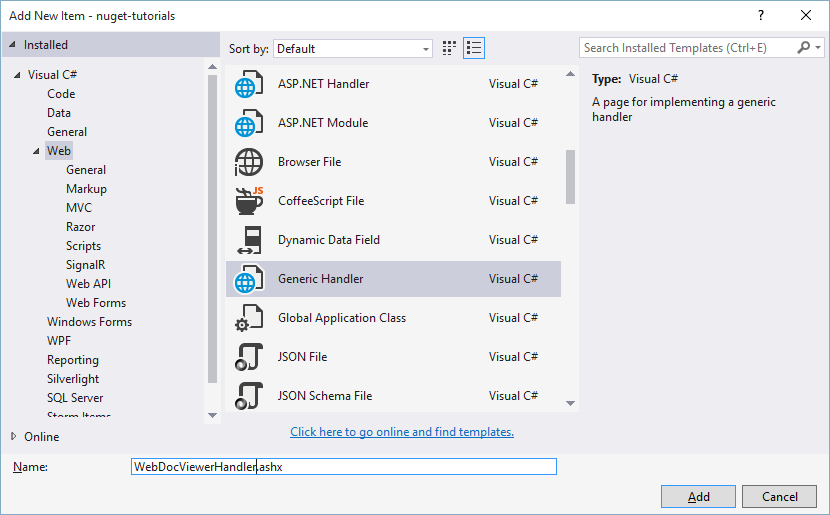
We are going to start with adding Generic Handler to the project (right-click on the project and select Add -> New Item…) Enter WebDocViewerHandler as a name of the handler:
Replace generated code with the following:
using Atalasoft.Imaging.WebControls;

namespace nuget_tutorials
{
    public class WebDocViewerHandler : WebDocumentRequestHandler
    { }
}
We plan to show PDF files in our viewer, so let’s register PdfDecoder class to support PDF rendering on server side. For web applications, the most simple way to achieve this is to add Global.asax file with the following content:
using System;
using Atalasoft.Imaging.Codec;
using Atalasoft.Imaging.Codec.Pdf;
namespace nuget_tutorials
{
public class Global : System.Web.HttpApplication
{
protected void Application_Start(object sender, EventArgs e)
{
// Enable PDF rendering
RegisteredDecoders.Decoders.Add(new PdfDecoder());
}
}
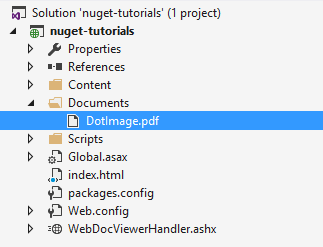
}The final thing we need to do on the server side, is to add some files for rendering. I created Documents folder in my web site structure and put a PDF there:
Now we have sever side ready, so we can move on and create a simple index.html web page (right-click on the project and select Add -> HTML Page). Below is HTML markup you can use to add and initialize Web Document Viewer / Thumbnailer:
<!DOCTYPE html>
<html xmlns="http://www.w3.org/1999/xhtml">
<head>
<title></title>
<!-- Script includes for Web Viewing -->
<script src="Scripts/jquery-1.7.1.min.js" type="text/javascript"></script>
<script src="Scripts/jquery-ui-1.8.14.min.js" type="text/javascript"></script>
<script src="Scripts/atalaWebDocumentViewer.js" type="text/javascript"></script>
<!-- Style for Web Viewer -->
<link href="Content/themes/base/jquery-ui.css" rel="Stylesheet" type="text/css" />
<link href="Scripts/atalaWebDocumentViewer.css" rel="Stylesheet" type="text/css" />
<script type="text/javascript">
$(function () {
try {
// URL that points to our Web Document Viewer handler
var serverUrl = 'WebDocViewerHandler.ashx';
// Initialize Web Viewing
var viewer = new Atalasoft.Controls.WebDocumentViewer({
parent: $('.atala-document-container'),
toolbarparent: $('.atala-document-toolbar'),
serverurl: serverUrl,
allowannotations: true
});
// Initialize Thumbnail Viewer
var thumbs = new Atalasoft.Controls.WebDocumentThumbnailer({
parent: $('.atala-document-thumbnailer'),
serverurl: serverUrl,
// Note that specify relative URL to our
// sample document on server here:
documenturl: 'Documents/DotImage.pdf',
viewer: viewer
});
} catch (error) {
alert('Thrown error: ' + error.description);
}
});
</script>
</head>
<body>
<h1>Atalasoft Web Document Viewer Demo</h1>
<div>
<div class="atala-document-toolbar" style="width: 1000px;"></div>
<div class="atala-document-thumbnailer" style="width: 200px; height: 500px; float: left"></div>
<div class="atala-document-container" style="width: 800px; height: 500px; float: left"></div>
</div>
</body>
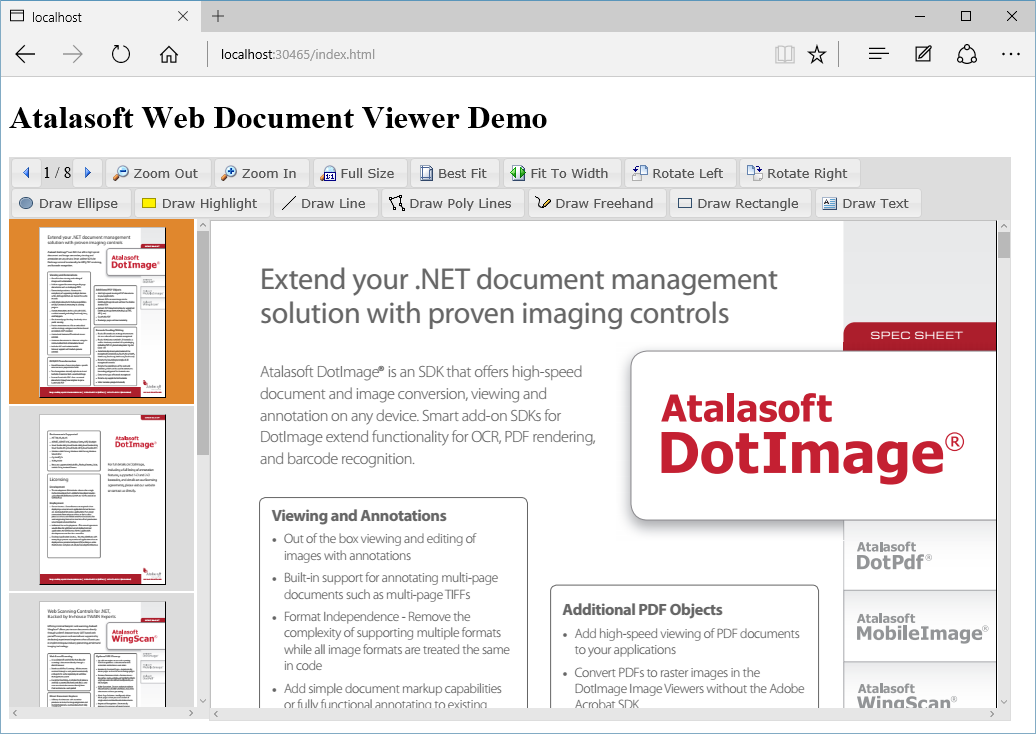
</html>That’s it! You just need to start you web site and in a moment you will see your PDF file and will be able to play with it using Web Document Viewer:
Conclusion
The steps I described here can be completed in 5-10 minutes even if you try to use Atalasoft toolkit for the first time. But you can achieve the same result even faster if you clone ready-to-go project from GitHub repository we created to hold our tutorial projects - all you need to do is to open the project in Visual Studio and run it - all necessary NuGet packages will be downloaded automatically during the build. If you are fast enough, it can be done in a minute (proof link is badly needed) :)
See you soon, happy coding!