NuGet Tutorial II - Web Capture Service
03 Aug 2016Hi, my name is Denis Legashov, and I am a software developer at Atalasoft company.
This is the second post about NuGet packages for DotImage product, and today I want to tell you about Web Capture Service (WCS) - tiny but powerful instrument to import or scan images from the browser.
WCS is a simple application that allows you to perform scanning from the browser and uploads image on the capture server. It supports different browsers. However, you do not need to install any extensions or plugins for each. Only install WCS itself on the local machine and write some JS code for your web application. So this is what I want to demonstrate.
From the first tutorial, we already knew how to create ASP.NET project, so, I skip these steps and move on to the adding packages. We need to install all packages from the first tutorial and a new one - Atalasoft Web Capture Service. So, the full list of the packages will be next:
- Atalasoft Web Document Viewer - JavaScript WDV/WDT components including all additional dependencies we have (jQuery, Raphael.js, jQuery.UI)
- Atalasoft DotImage WebContorls - server side code that supports Web Document Viewer.
- Atalasoft Web Capture Service - contains installation file of the WCS and JavaScript API.
After installation complete, we create app.js in the Scripts folder where we write code to provide some scanning logic, and index.html to show results of scanning.
On the page, we place some controls: Atalasoft Web Document Viewer, two buttons, and some checkboxes for basic scan settings, like a dpi, paper size, pixel type - color or grayscale, and show or not scanner settings vendor dialog.
Also in the index.html we add references to the scripts and styles, and that is all for the page.
Now we need to write some code on JavaScript in the app.js. Let’s create a simple function where we can initialize viewer and Web Capture Service with some event handlers where we will log them into the console.
Start scanning
We want to perform scanning with our custom settings, so let’s create a click handler for “Scan” button. Also, we need a helper function to collect scan options.
Here a list of options we use in this sample where we click on “Scan” button:
- pixelType - sets the pixel type of the document getting scanned.
- resultPixelType - specifies the pixel format for images delivered to your application after scanning and post-processing.
- dpi - sets scanner dpi
- paperSize - specifies paper size
- showScannerUI - flag determines whether or not show the scanning device user interface.
Also, we have an Import button on the index.html, so we need to create default scanning options which are use for import. We declare them in initialize method with this code:
As you see, I have added deliverables option with property localFile. This option allows us to scan every scanned or import image or page in a multipage image in the persistent store in specified format. We need this for further image processing. All images save encrypted, so we need to pass encryption key somehow. The simplest way to do this is add one line of code in the onScanClientReady handler.
Okay, now our sample works. It scans and imports images and saves them in the persistent store on the local machine, but we want to see results on the web page. Let’s do this!
Upload and view images
WCS can upload scanned images to the server, so we simply need to add three more event handlers and most important for us is the onUploadCompleted event. When WCS completes upload image, we show it in the WebDocumentViewer.
The final part of the sample is to upload images to the server, by default, WebCaptureHandler uploads it to the local folder with name “atala-capture-upload.” Moreover, by default upload behavior is different for scan operation and import. After scan operation, all pages are combined into one multipage tiff, and it uploads to the server. However, for import upload by default does not happen at all. So, we need to extend our onImageAcquired event handler like this:
In this code, we discard image to remove it from memory (it is already saved in the local persistent store) and upload to a server as a base64 string, specifying container format, and additional options like a jpeg compression quality.
After all additions and edits complete version of app.js looks like this:
So when you build your site and perform scanning you will see something like this:
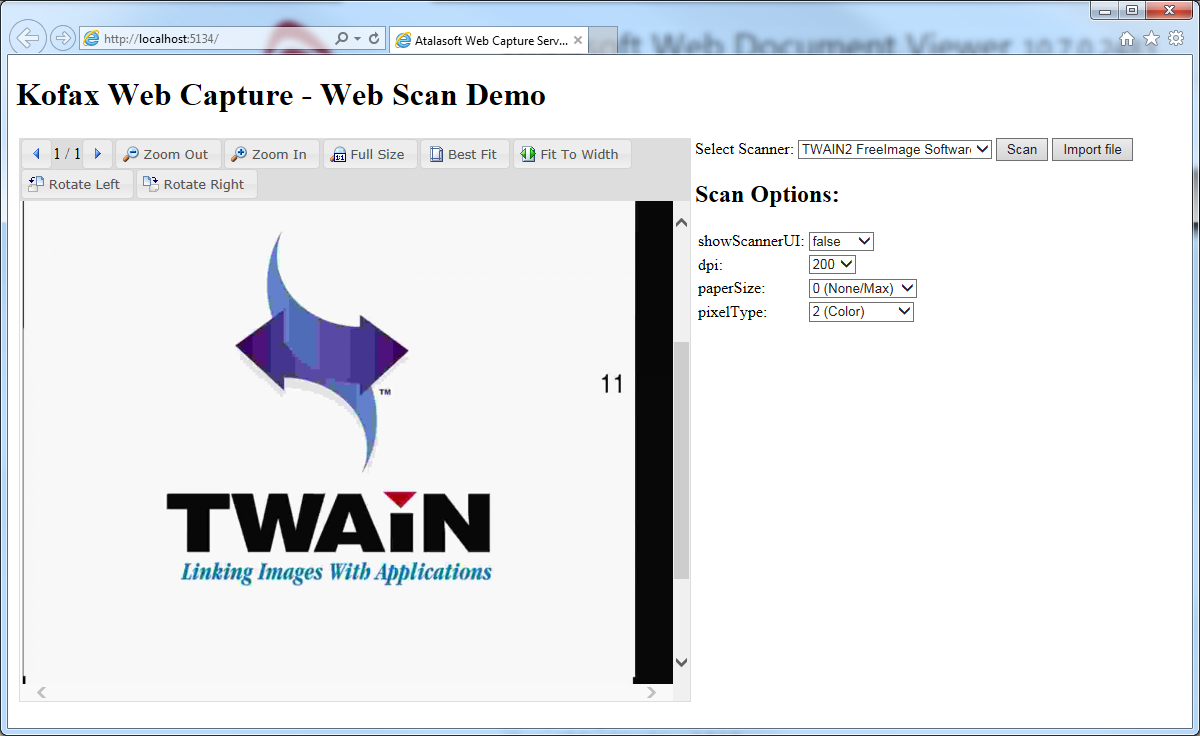
Conclusion
Here a simple sample about how to work with WebCaptureService, and how it allows you to perform scan operations directly from the browser using only JavaScript.