Web Document Viewer - Bower package
01 Sep 2016Motivation
Since lately we have introduced NuGet packages for our Web Document Viewer component we have worked out another scenario of separating frontend and backend development. There are special package managers to deliver frontend components only. We have looked into them and chosen Bower. Therefore we created a new package for introducing the ability to manage our viewer as a standard frontend web component.
Introduction
Bower is a package manager for frontend dependencies. Bower has a cross-platform support and can be used outside .Net projects.
The Web Document Viewer component is included in our main product DotImage and the files distributed in the Bower package are also available as a part of DotImage standalone installation, as well as they can be obtained from the NuGet package. But as soon as we speak about cross-platform frontend development we need to use frontend-specific package, i.e. supported by Bower.
In this article we are going to step through a simple application creation using our new Bower package called web-document-viewer.
How to install Bower
Bower installation is held using npm. Npm is also an online repository for JavaScript dependencies, but it implies server-side JavaScript components management (NodeJS). The difference between npm and Bower lies mainly in the way of managing the dependencies concerning versioning. Bower dependencies can contain only one version of a concrete library (i.e. JQuery 1.8.3), so that dependency tree has a linear structure, whereas npm dependencies may reference to different versions of a concrete library (i.e. JQuery 1.8.3 for one component and JQuery 3.1.0 for another component), so that the dependency tree may have a deep tree structure.
Bower prerequisites are node, npm and git.
To install Bower using git bash type the following command:
$ npm install -g bower Previously we have described how to create a simple application using our NuGet packages. Here we are going to describe a similar thing, but for frontend Bower package. So we will use both NuGet (for server-side) and Bower (for client-side).
Using Bower with Visual Studio 2015
The steps to setup a simple project we want to include our package into are the following:
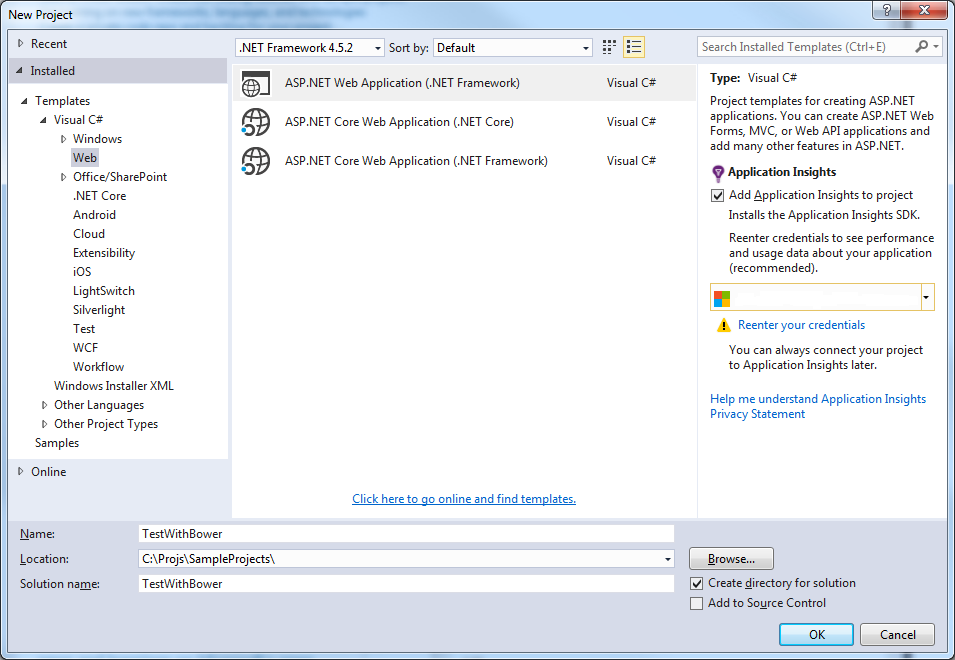
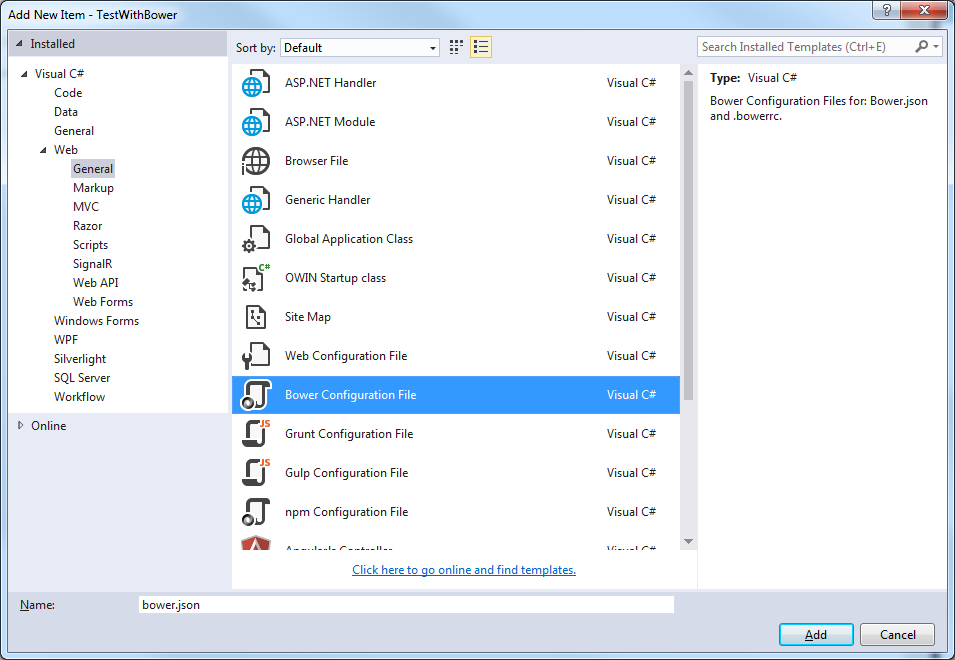
- Create ASP.NET Web Application (File->New->Project) as it is shown in the screenshots below.

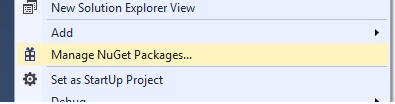
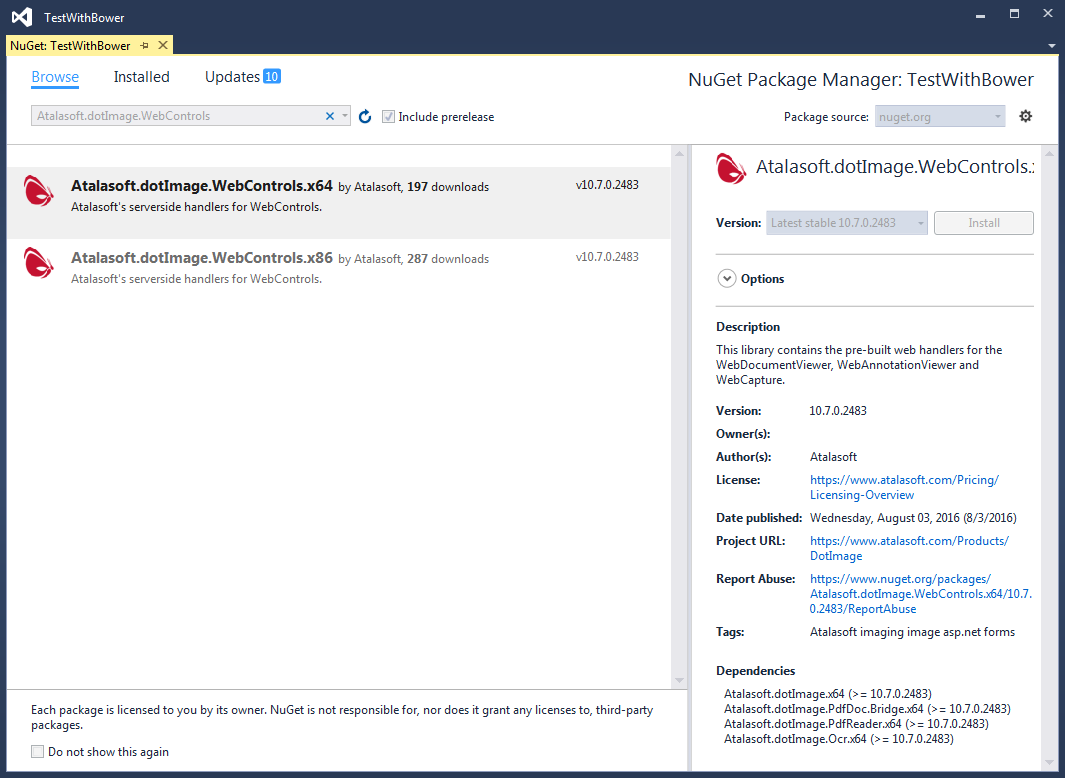
- Include NuGet package Atalasoft.dotImage.WebControls to support server-side logics. (The same as it is described here, see the screenshots below.)
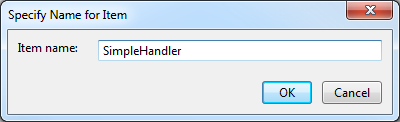
- Implement server-side like here. Add a new Generic Handler and inherit it from WebDocumentRequestHandler class from Atalasoft.Imaging.WebControls namespace as it is shown below.

 And now our server-side logics is ready. We are going to implement the client-side logics.
 - Add a Bower configuration file to the project.
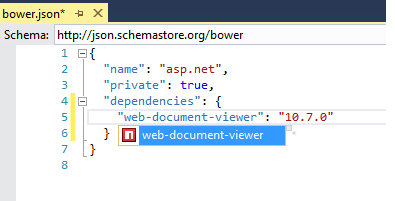
- Open recently added bower.json file and add a new dependency “web-document-viewer”.
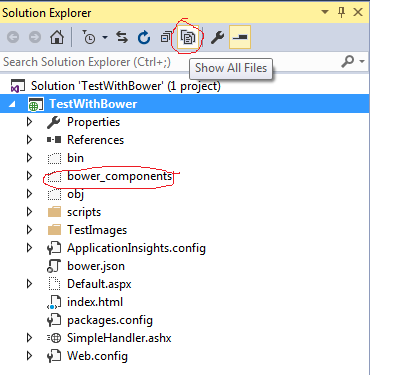
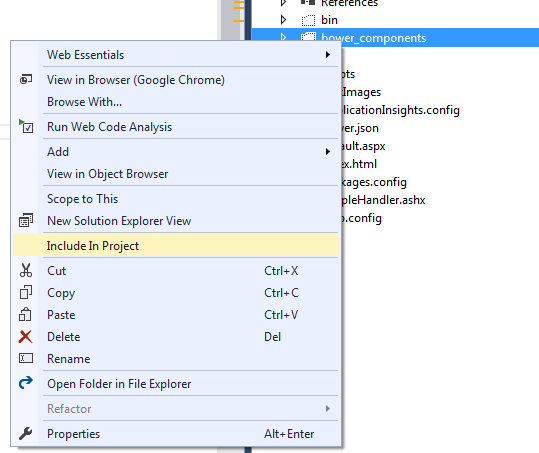
- Save the file. The dependencies will be downloaded automatically into the default folder “bower_components” (configurable). You can see it when browsing the directory with the project. It is useful to include this directory in the project.
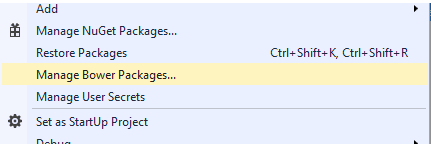
 There is also another way to manage Bower dependencies. It is presented in the context menu for the project.
 This command will show the list of installed Bower packages:
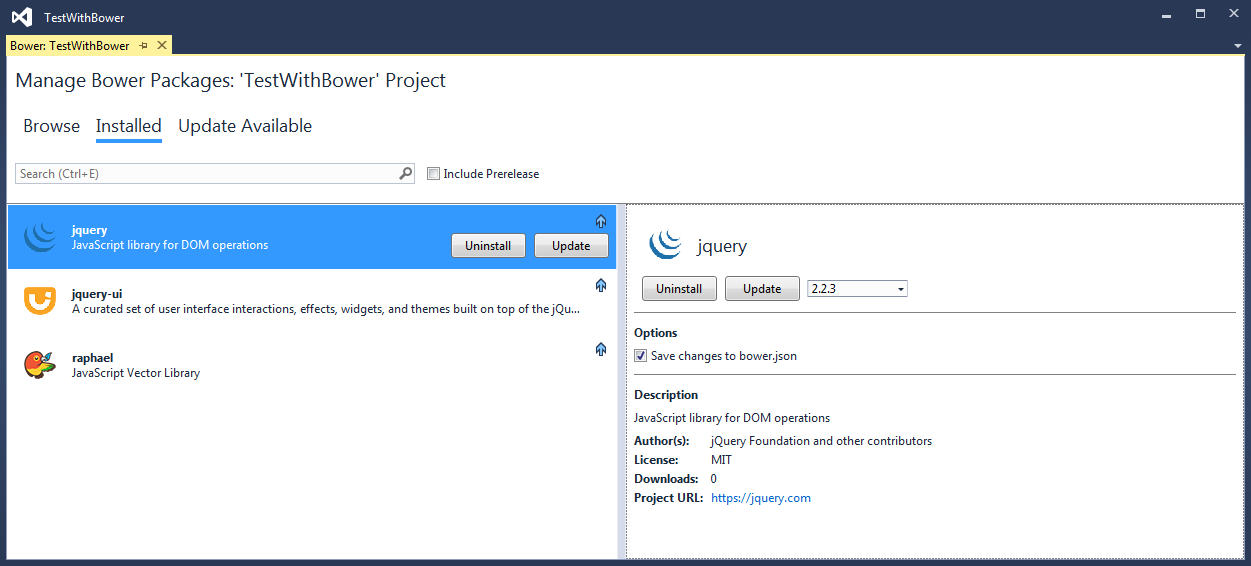 As you see the “web-document-viewer” and also “jquery-easing” are not listed here. We have posted a question about it on Social Microsoft website forum and Bower GitHub issues. In fact there is a number of packages that do not appear in the Visual Studio UI Package Manager for Bower. Hopefully, this issue is soon resolved.
We can also switch to the “Browse” tab in the Bower Package Manager to see all the available packages: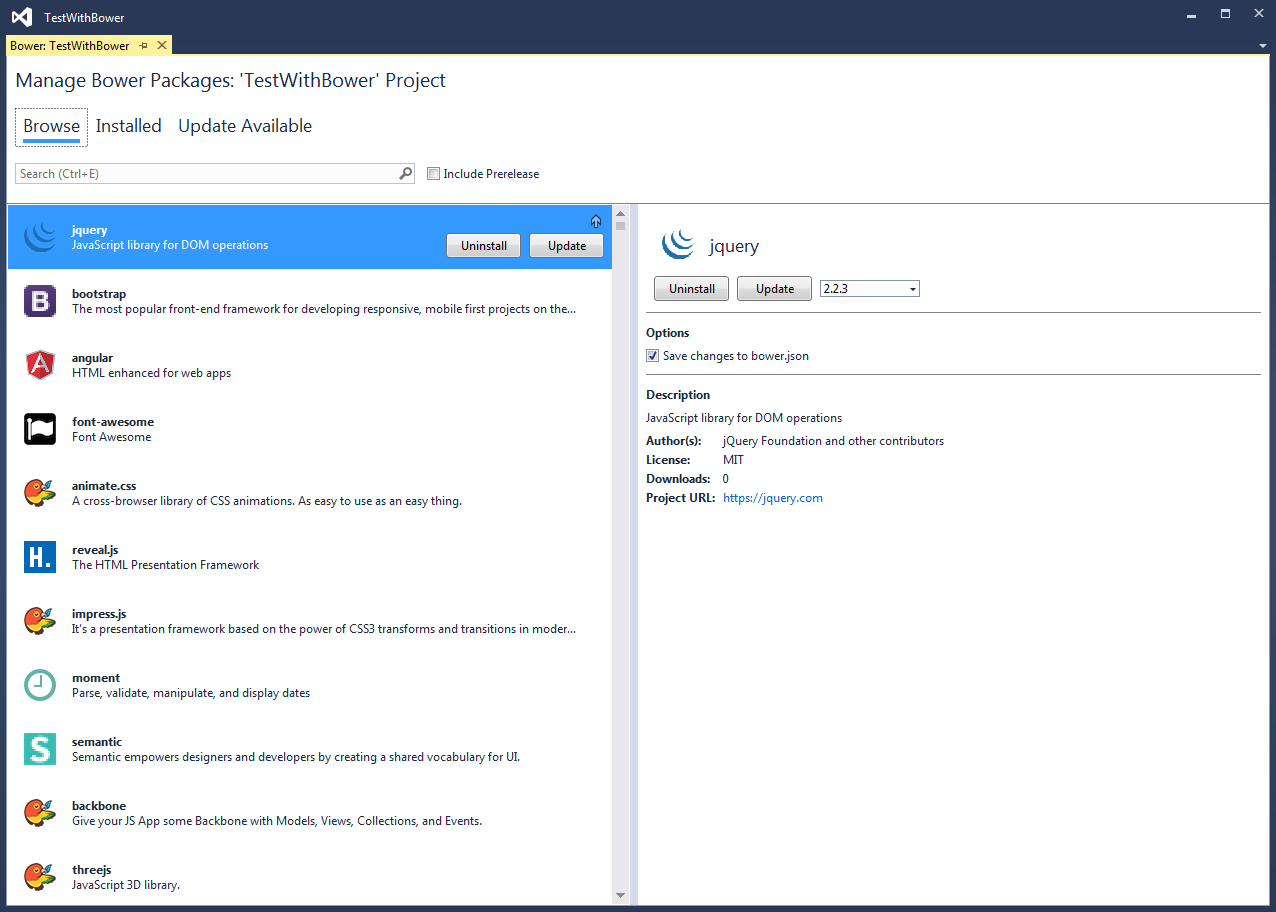 We can install, uninstall or update packages using corresponding buttons. There is also an option to save these changes to bower.json file (ticked by default).
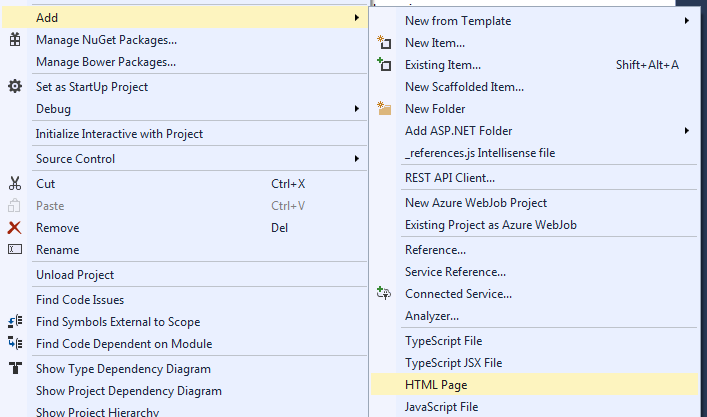
 - Add a new index.html file into the project.
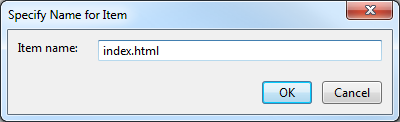
- Replace all the code with the following:
Example code
Now we are ready to start our application.
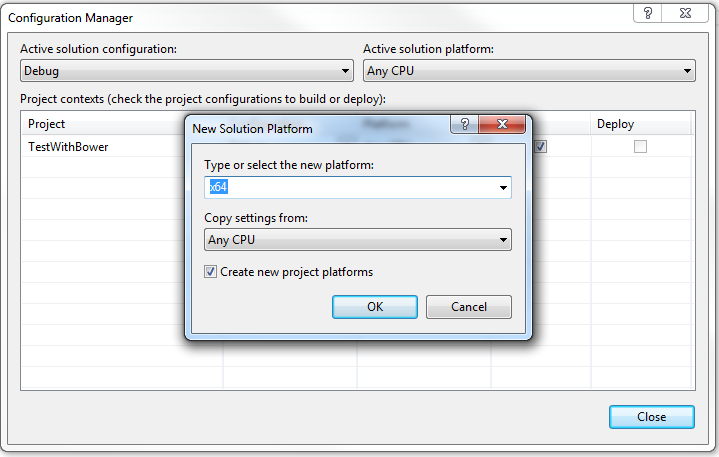
Note: If you have installed 64-bit version of DotImage library you need to set a proper Solution platform:
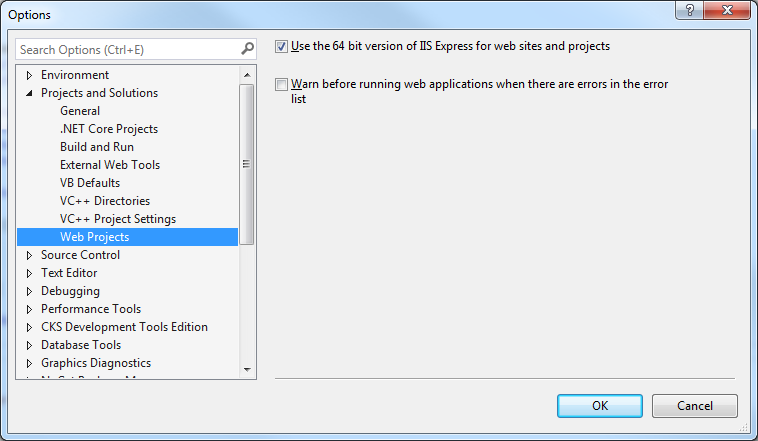
 As well as before launching it is necessary to tick “Use the 64 bit version of IIS Express for web sites and projects” in the option dialog window (Tools->Options).
 Then we can press F5 to launch the application.
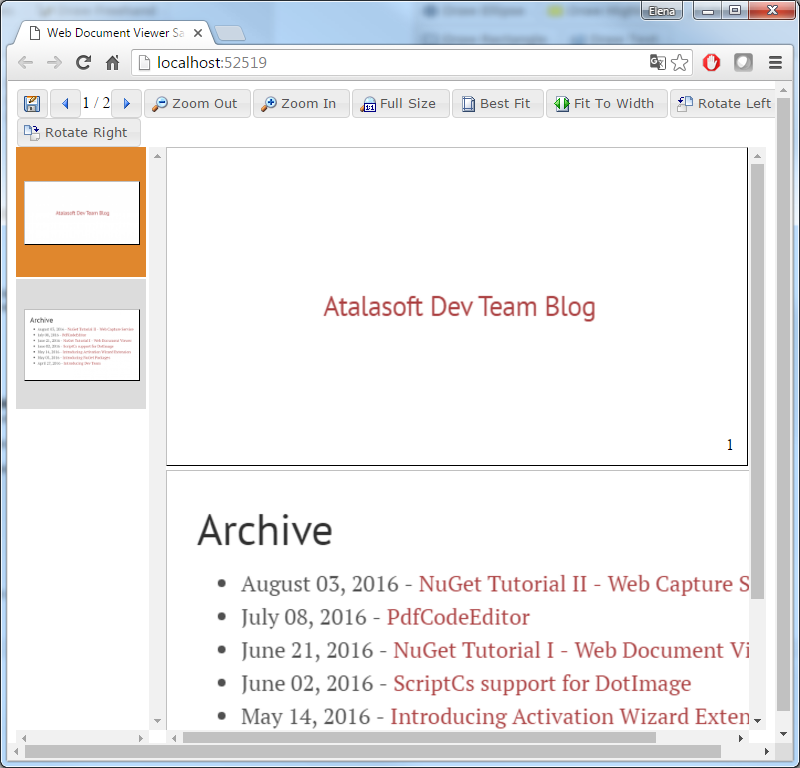
As an example we can open a test file located in our test images directory (using a browser console):
_thumbs.openUrl('./TestImages/Test.tif') As a result we see the Test.tif file opened in the Web Document Viewer:
The TestWithBower project source code is available here.
Using Bower with console
The same bower package management can be done using console.
At first we need to browse to the directory where we are going to install dependencies in the git bash console.
- To initialize Bower type the following command:
$ bower init This will open file bower.json in the current direcory or initiate its creation in interactive mode:

After filling in all fields the interactive mode and confirming that it looks good the file bower.json will appear or update in the current browsing directory.
- To install web-document-viewer package type the following command:
$ bower install --save web-document-viewer#10.7.0 This will install the “web-document-viewer” component with all its dependencies. By default all downloaded files are placed in the folder bower_components. However this can be configured. The installed files can be referenced using this path. I.e.
<script src="bower_components/atalasoft-web-document-viewer/atalaWebDocumentViewer.js" type="text/javascript"></script>
The complete example code is presented earlier in this article.
Option
--saveindicates that it is necessary to save the installed package into the current Bower configuration file.
The numbers after # indicate the version of the package it is necessary to install.
All downloaded dependency files are placed by default in the “bower_components” folder, where it can set references directly or copy the files into another folder. There are tools like Gulp, Grunt and others to automate these files management. They are task-runners that can (among other commands) execute files copying before build etc.
A few words about Bower package configuration file
Bower configuration file (bower.json) is obligatory for each Bower package. It can be created while development and kept in actual state, which is quite useful when working with a project: the same configutation file for development and package distribution. It contains package name, licensing information, list of dependencies etc. It is downloaded as a part of a package. It also includes the names of the main files of the package to be included as a script or a stylesheet reference into the web-page and the file versions.
Bower package contains meta-information about the Bower package. More information about creating Bower packages is available here.
References
- Bower https://bower.io/
- Atalasoft blog archive on GitHub http://atalasoft.github.io/archive/
- Atalasoft web site https://www.atalasoft.com/
- Atalasoft NuGet Tutorial http://atalasoft.github.io/2016/06/21/nuget-tutorial-wdv/